
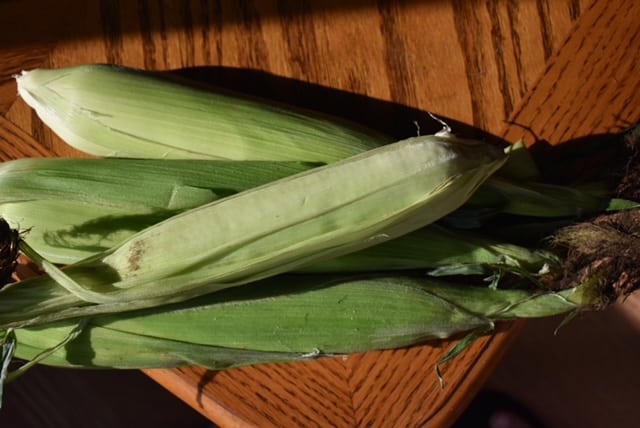
The easiest way to freeze corn is straight from the field in the husk. Now, this is not the way that my grandmother froze her corn or even how I froze mine years ago, but it is by far the easiest. We will also talk about a couple of other of ways, but if you are like me, you want to be in and out of the kitchen as soon as possible. Freezing corn in the husk is definitely the easiest way to freeze corn.
Freezing Corn in the Husk-easiest way to freeze corn
- You want to start with the freshest corn possible. I try to buy mine directly from farmers who are selling it from the field that they picked that day. However, you can purchase it from the grocery, but you want to get it frozen as soon as possible to maintain its freshness.
- Once you bring it home, just cut off the end that does not have any silk hanging out if it is too long to fit in a zipper bag. (If you don’t have time that day, put the corn in the refrigerator, until the next day.)
- Place 3-4 ears in a gallon size zipper freezer bag. Make sure that it is a freezer bag. However, if you have vacuum sealer, that is even better.
- Close the zipper bag and try to remove as much air as possible. Use your vacuum sealer to remove the air if you have one.
- Lay the bags flat in your freezer.
I told you that this was the easiest way to freeze corn. I used this method last year and loved the results especially for the amount of time and effort that it takes.
Freezing Corn on the Cob-still an easy way
- Again, start with the freshest corn possible.
- Pull the husk (green outside leaves) off each ear of corn.
- Next, silk the corn by removing the hair-like pieces from the corn. The easiest way to do this is to use a vegetable brush. You can even use a clean toothbrush to get between the kernels. Growing up, we would have a corn shucking party where the neighbors would come over, and we would sit around and shuck and silk everyone’s corn outside. It sure did make a lot less mess in the house!
- If you see any dark places on the corn, cut it off. Also, the end of the corn may not be fully developed. You can cut that off as well.
- If you have children, you may want to break some ears in half. Children probably will not want to eat an entire ear at one sitting.
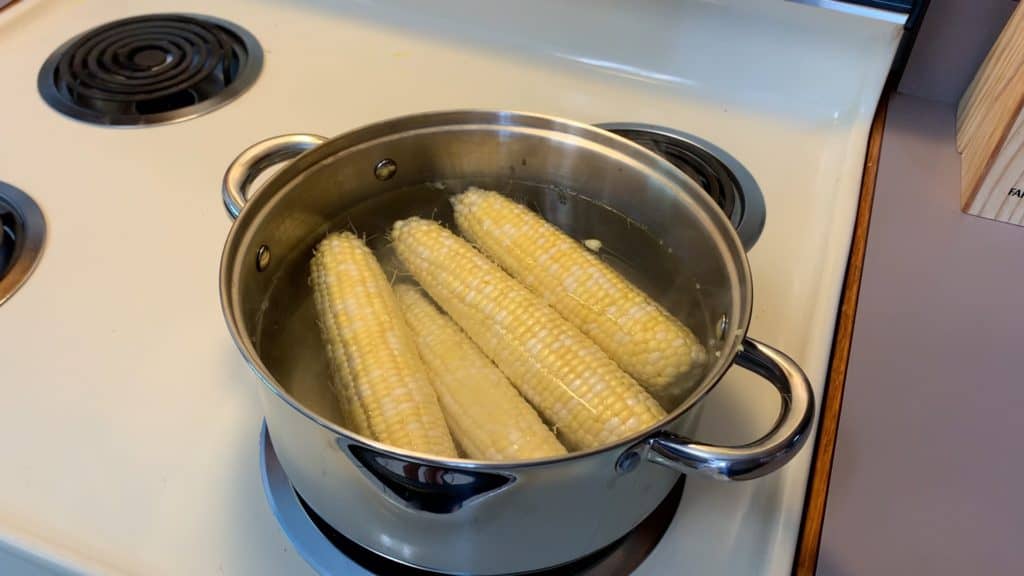
- Once the corn is shucked and silked, put on a pot of water to boil. Place ears of corn in the boiling water making sure to stay below the water line.
- Boil 7-11 minutes.
- Next, place the corn in ice water to cool.
- Place the 3-4 large ears into a zipper bag or vacuum seal them.
- Lay the bags flat and lay them in your freezer flat.
Freezing corn off the cob-a little harder, but oh so worth it!
- Follow steps 1-8 for freezing corn on the cob.
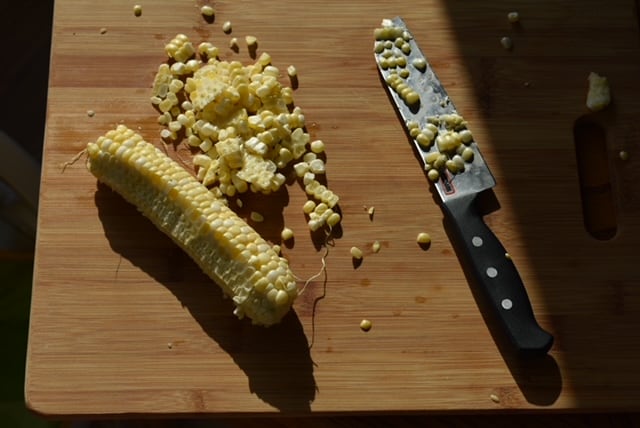
- Pull one ear out of the ice bath, hold the corn vertically against a cutting board and run a knife or corn cutter down the side. You can also use a bundt pan and put the ear of corn in the hole and let the corn fall into the pan.
- Once you have cut all the kernels off the cob, then you take the knife and scrape the cob. That gets all the corn milk from the cob and makes the corn sweet.
- Once you have finished cutting all your corn off the cob, it is time to bag it up using quart freezer zipper bags. I don’t recommend using a vacuum sealer for this because I tried it once and it sucked out all the corn milk with the air.
- Label your bags with corn and the date so you can easily tell what it i
- My family LOVES corn off the cob so I will usually put about 1 1/2 cups in a freezer bag. I never measure. I just scoop it in. You can decide how much to put in a bag based on the size of your family and how much they enjoy this type of corn. Just remember to leave space at the top because you want to get the air out before you seal the bag.
- Once sealed, lay your bags flat in the freezer to give you more room.
Cooking the corn
For the corn with the husk on it, just take it out of the freezer and pop in the microwave. You can also throw it on the grill, but you need to wet the husk. Microwave times vary but you should cook one ear around 10 minutes and then increase the time based on the number of ears. For the grill, put the wet corn on with your meat and it should be ready at the same time. When finished cooking, you will remove the husks and silks. Just add butter or whatever you like to the corn. You can also cut the corn off the cob and eat it that way.
For the corn frozen without the husk, you can also microwave or put on the grill. Just lay the corn on the grill when you start your meet and rotate it every few minutes. You can also wrap the frozen corn in plastic wrap and put it in the microwave for about 8 minutes for one ear and increase time based on your microwave wattage and number of ears.
Results
If you have never eaten fresh corn from the garden, you are truly missing out on one of the best side dishes you could ever have. It tastes nothing like canned corn or frozen corn on the cob that you buy at the grocery. My family LOVES fresh corn and I only use the canned corn for soups or casseroles as the taste of fresh corn is so much better. Please try it. You will LOVE it, too!
Just another way that we are solving life’s little problems!